Preview of Final Results

Step 1
Open the model stock.

Step 2
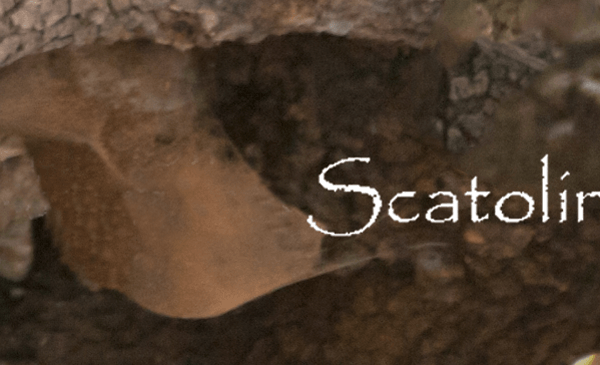
As you can see the picture has the photographer’s tag
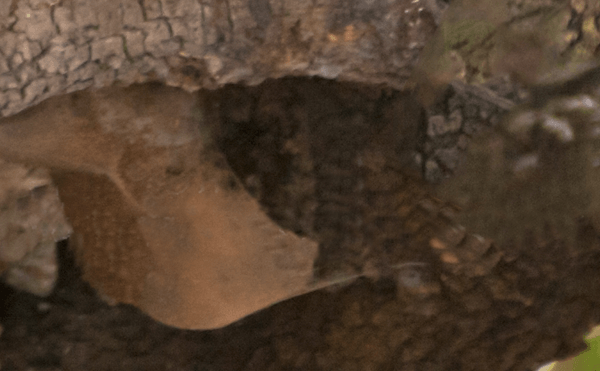
at the bottom. We are going to remove it! Let’s grab the Clone Stamp Tool.
Click the ALT button close to the area you want to clone. A kind of viewfinder
will appear. Now brush over the area to clone.
You will have to do it several times until the tag is
removed. Remember to alt click close to the areas you want to recover or the
result will be fake.


Step 3
Let’s go to select the part of the image we want: the
lady and the tree. I did it with the Quick selection tool but you can do it
with your favourite tool.

Step 4
This is not a perfect selection so we will refine it.
Click the Mask Button I am showing you below.

Step 5
Below you can see what happened. The unwanted part is
colored with red. Now we are going to refine the selection with a normal Brush.
You will paint directly on the image with black or white. Painting with black will
exclude from the selection the parts you brushed over. Painting with white will
do the opposite thing. When you are happy with your selection you click
the Mask button once again and you’ll have your perfect selection.

Step 6
Now you have to create a mask so that the unwanted
part will disappear. To do so just click the Clipping Mask button and you will
obtain what you want!
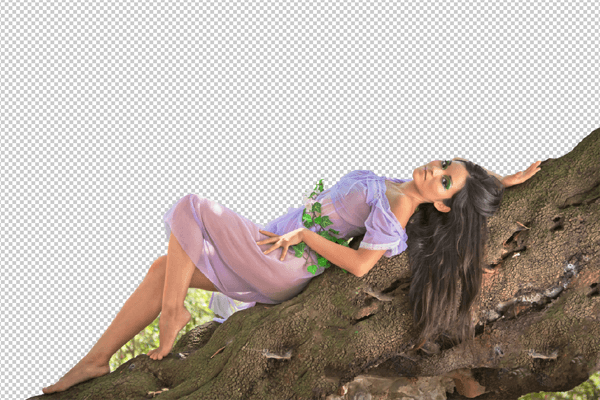
TIP: To have a transparent background remember you
have to unlock the Model layer or you will have a colored background.

Step 7
Now you have to do the same thing to delete the part
close to her legs and at the bottom of the tree. Go over the mask we
created for the Model layer and paint with black the unwanted part!

Step 8
I didn’t like the bottom part because I think it can
catch people eye. Instead I want that people look at the model. So I
painted with white on the clipping mask to make that part visible again. Then I cloned it like
I did in Step 2.

Step 9
Open the Forest stock and place it under the Model at
the right top of the canvas. (I stretched it a bit).

Комментариев нет:
Отправить комментарий